Post by Cthulhu_gump on Mar 1, 2009 9:21:14 GMT 10
Step 6 – Upper structure
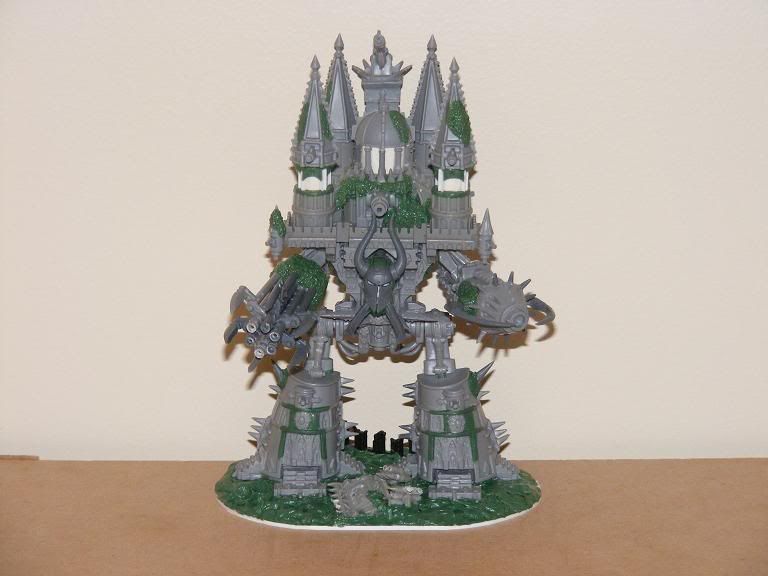
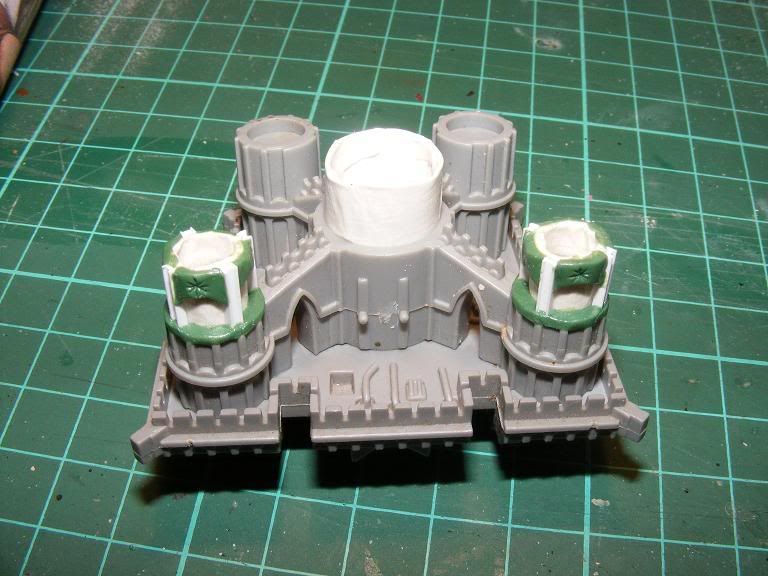
• This was the one part of the whole model that I had been dreading, I had no real clue as to what I was going to do here. I knew that I wanted it to be different and a bit more chaotic, but I really didn’t know what to do with it… This eventually lead me to just starting anyway, I glued the base of the buildings to the floor structure, nothing else from the original Imperator was to be added yet.
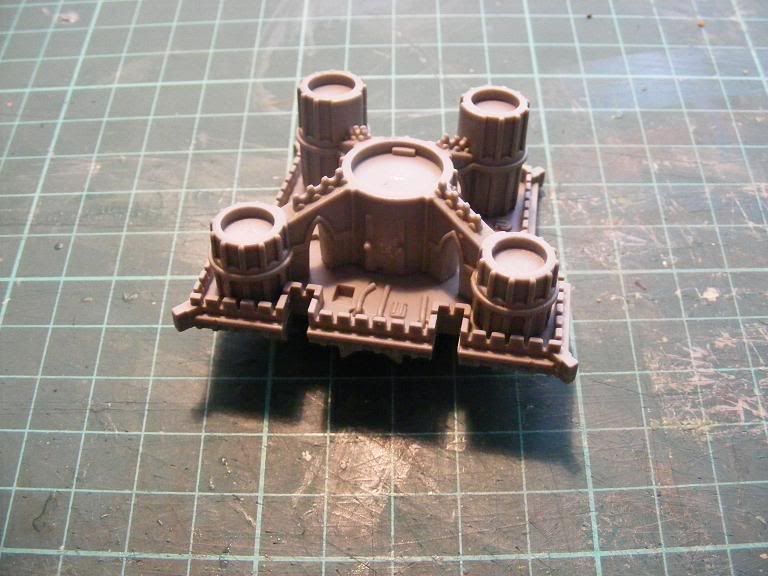
• I decided after some time in deep thought about it that it needed to be bigger than a normal Imperator, so the idea was then to lift the two front towers up, changing the style of the whole front, I couldn’t get the plasticard to do what I wanted here so I went for card board and then put masking tape around it.
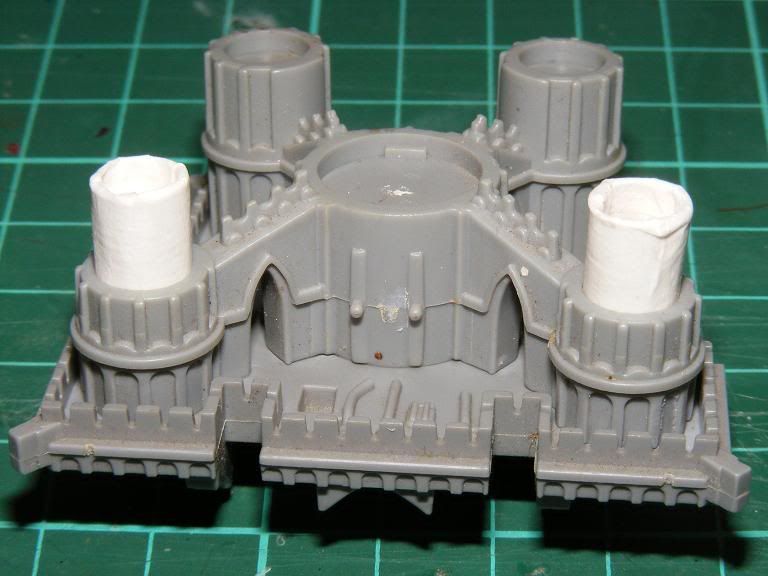
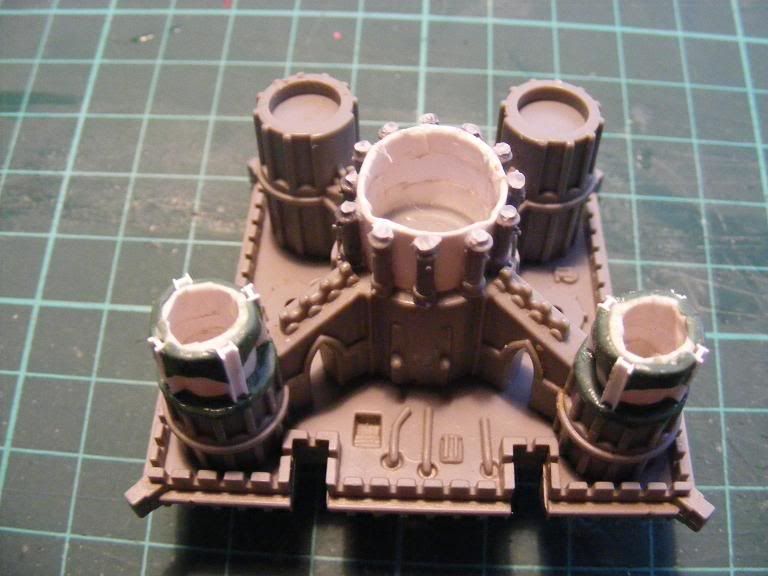
• I decided to add some I beams to the four sides of these new tubes, this was to give it strength and to give me a place to work from with the putty.
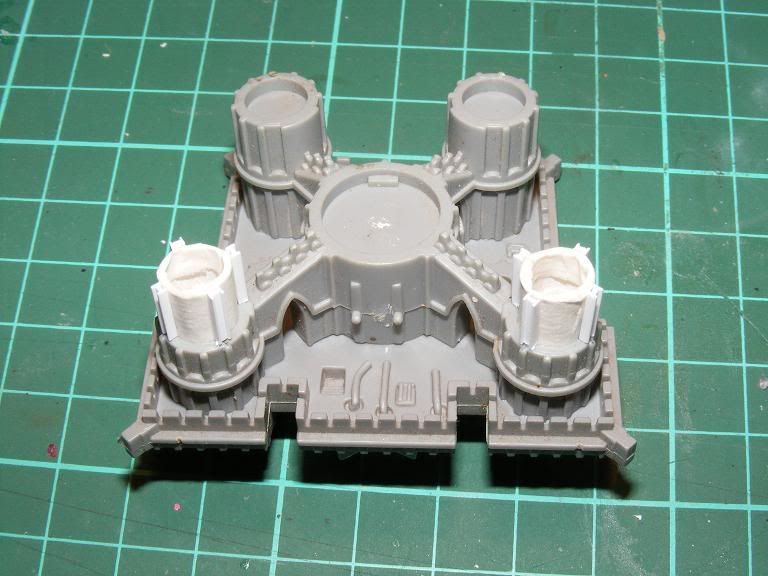
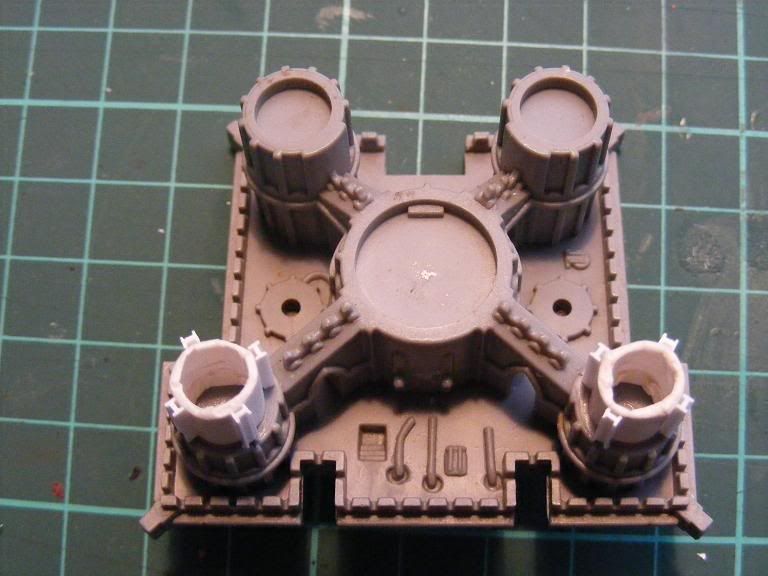
• I wanted to take it slowly with the building of this top part and so decided to do all the putty work as I went, it was to be a higher wastage of putty, but I could get a good idea of how the whole top was coming together.
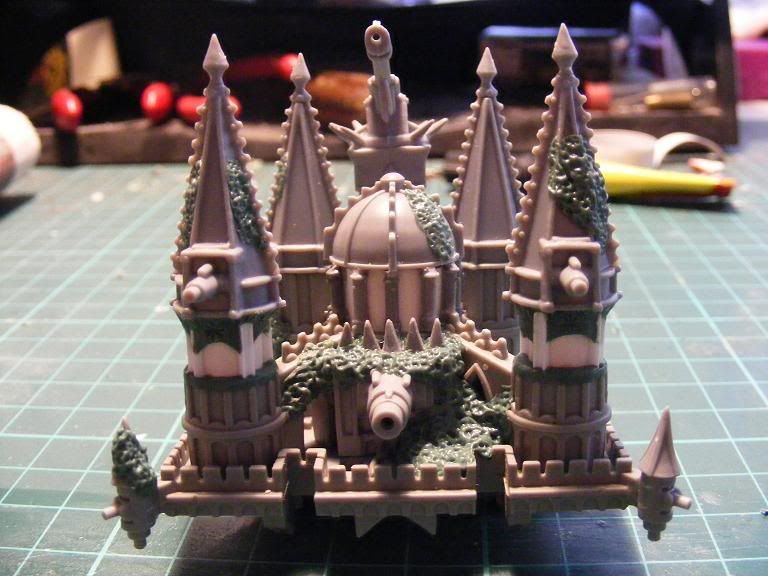
• While the putty was drying on these front towers, I made the centre palace tower the same way that I had made the front towers.
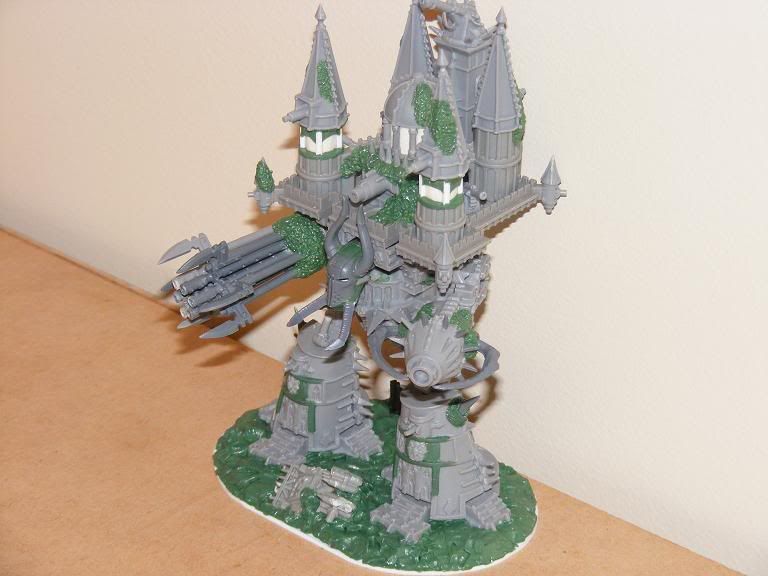
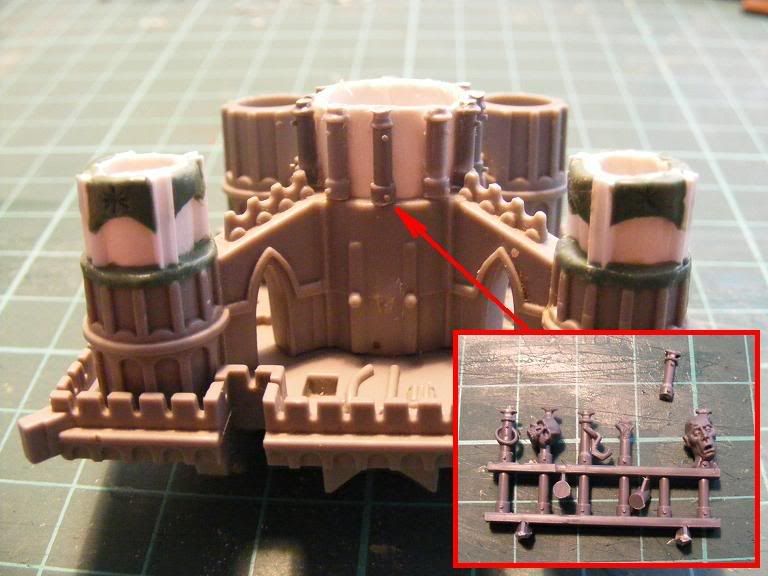
• With the Central building I decided to for a bit more of a gothic feel to it and for it to look like a temple, I added columns all around it that the roof would sit down onto. Then the roof was put on.

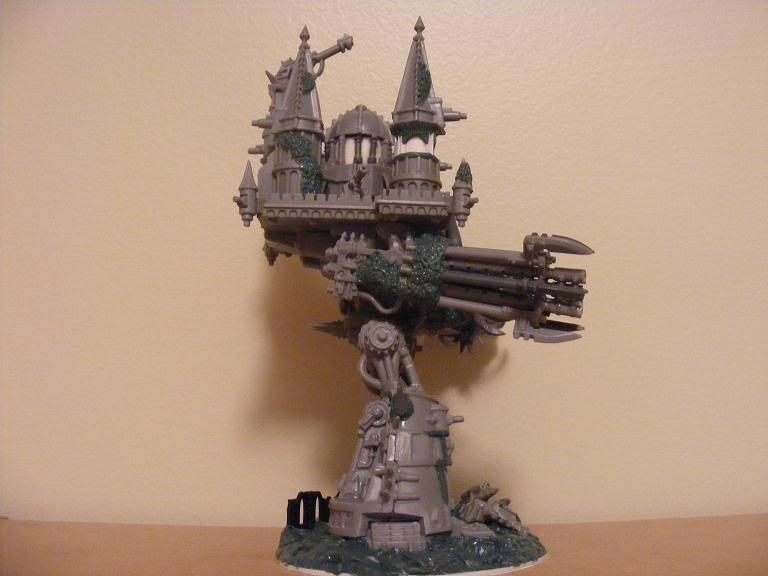
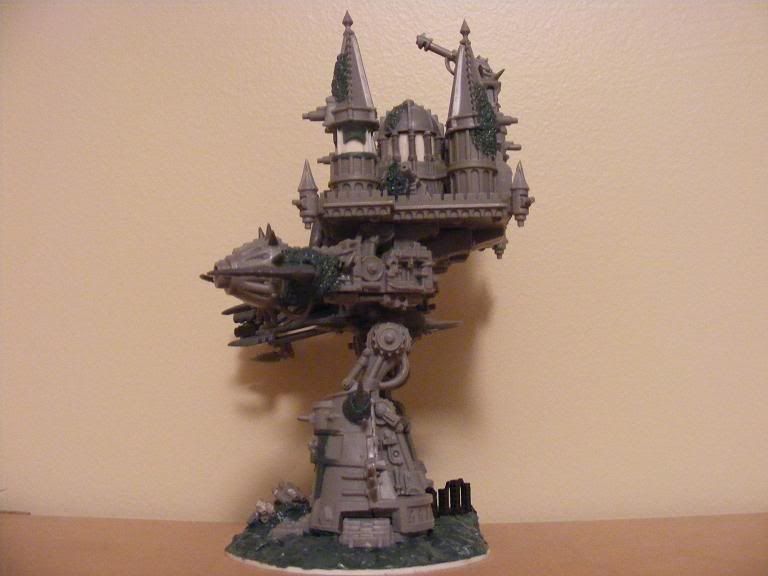
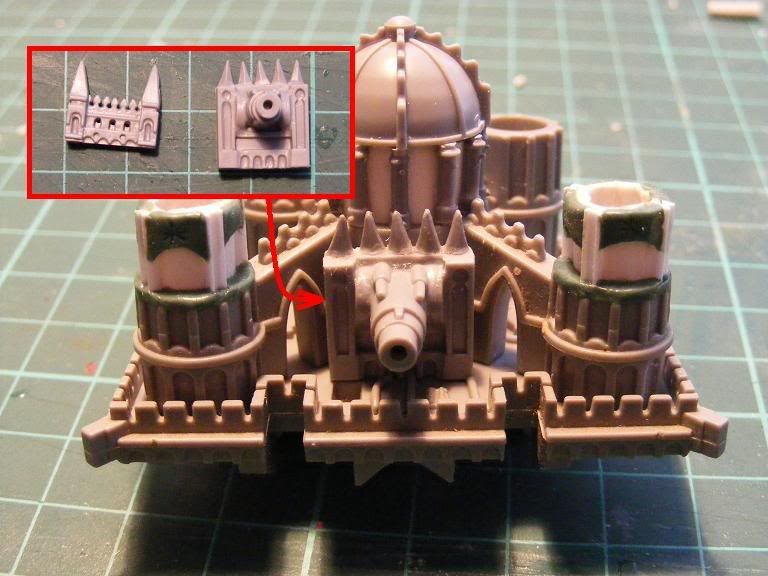
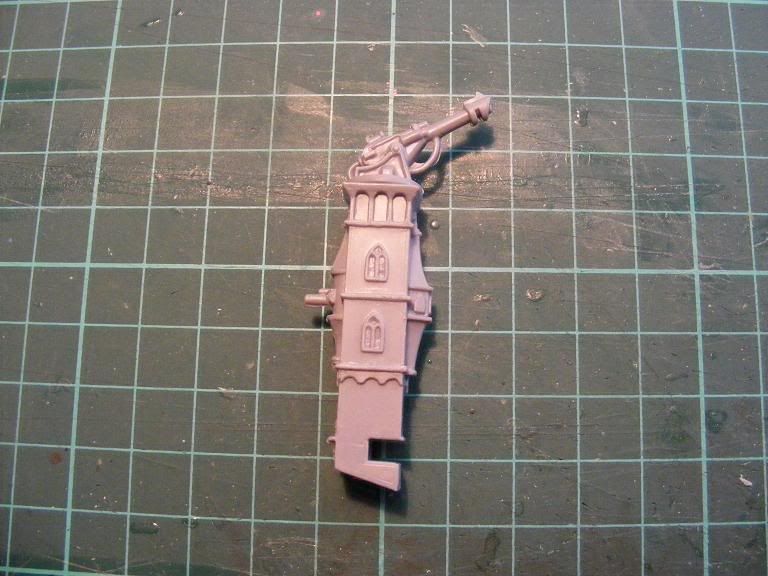
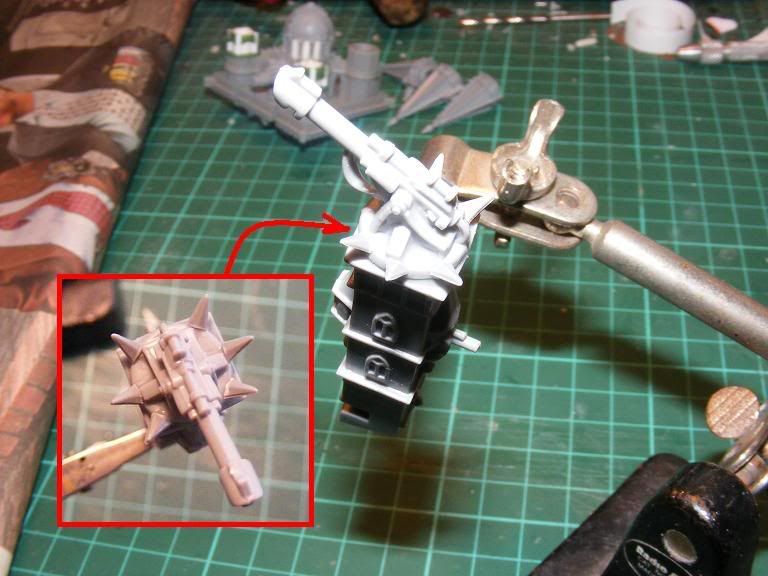
• Next thing was to add the cannon and front of the building, but I didn’t want to hide the central temple. The top of the front was cut off and spikes were added to the top of it (with the plan for later putty work to be added).
• The back square tower was made up and I also added spikes around the outsie od the Laser cannon on the top.
• The back tower was attached in place and the building roofs were also put onto the 4 corner towers.

• The final thing to do was to add the smaller corner gun towers and then to start to putty the figure.
• This was the one part of the whole model that I had been dreading, I had no real clue as to what I was going to do here. I knew that I wanted it to be different and a bit more chaotic, but I really didn’t know what to do with it… This eventually lead me to just starting anyway, I glued the base of the buildings to the floor structure, nothing else from the original Imperator was to be added yet.
• I decided after some time in deep thought about it that it needed to be bigger than a normal Imperator, so the idea was then to lift the two front towers up, changing the style of the whole front, I couldn’t get the plasticard to do what I wanted here so I went for card board and then put masking tape around it.
• I decided to add some I beams to the four sides of these new tubes, this was to give it strength and to give me a place to work from with the putty.
• I wanted to take it slowly with the building of this top part and so decided to do all the putty work as I went, it was to be a higher wastage of putty, but I could get a good idea of how the whole top was coming together.
• While the putty was drying on these front towers, I made the centre palace tower the same way that I had made the front towers.
• With the Central building I decided to for a bit more of a gothic feel to it and for it to look like a temple, I added columns all around it that the roof would sit down onto. Then the roof was put on.
• Next thing was to add the cannon and front of the building, but I didn’t want to hide the central temple. The top of the front was cut off and spikes were added to the top of it (with the plan for later putty work to be added).
• The back square tower was made up and I also added spikes around the outsie od the Laser cannon on the top.
• The back tower was attached in place and the building roofs were also put onto the 4 corner towers.
• The final thing to do was to add the smaller corner gun towers and then to start to putty the figure.